How to do the 2-minute swap-out of an air exhaust valve?
The plain truth is PopToss is an excellent non-battery, non-electric pitching machine. It’s a much better option than spending thousands of dollars on a rubber tire pitching machine like the Jugs machine which needs a generator and a screen or net.
Note the old air exhaust valve being removed as I continue speaking.
That being said, there are several things you may have to do from time to time:
- Lubricate your PopToss
- Change the spring if it weakens
- DO THE 2-MINUTE SWAP-OUT OF THE AIR EXHAUST VALVE.
If, when loading your PopToss, the grey-colored Ball Striker comes back up almost immediately even when the Timer valve is turned clockwise until it stops, then you know for sure your valve is bad.
Okay, the valve has been removed… the two-minute clock has started!
- Remove the PopToss from its Base
- Remove the black Foam Cover
- Remove the thin mesh cover and the two small rubber bands
- Take note of what the old air exhaust valve looks like before removing it. You may want to take a picture.
- Turn the air exhaust valve in a counter-clockwise direction to remove it.
- Turn it clockwise by hand to install it the new valve. The new valve should go in as the old one was installed.
- After turning it in by hand, use the tools to tighten it. DO NOT OVER-TIGHTEN IT.
Why does the valve go bad? Don’t put softballs with dirt or debris on your PopToss. Wipe your softballs before putting them on your PopToss. Keep dirt from getting inside your PopToss.
This is BIG, BIG, BIG News …. The challenge of getting perfect Timing has always focused on the seal around the gold colored Timing valve. Recently, we discovered that the focus should have been on the two small black o rings on the bottom area of the Ball Strikers. As you push down on the Ball Striker (when loading) NO AIR SHOULD SEEP THROUGH THE O RINGS. … THIS IS KEY TO PERFECT TIMING.
How to FIX:
- Put a good amount of 100% Silicon Lubricant on the two o rings. …. no oil.
- We previously instructed customers to use motor oil to lubricate the inside walls of the lower cylinder known as the Vacuum part. Going forward only use very oil to lubricate the bottom cylinder. Use the same 100% Silicon Lubricant as in step (1) above.
THAT’S IT!
Use your finger to put an ample amount of Silicon Lub on the inner walls of the cylinder.
If you do use any oil, put a little on the two Ball Striker O-rings after putting the Silicon on them first. If it gives you perfect timing. FORGET THE OIL. The oil only makes it a little easier to PUSH DOWN WHEN LOADING.
Some notes:
The biggest advantage of using this pitching machine is all the ways you can use it:
- For soft-toss drills out in front or from the side of the hitter.
- You can pop the ball straight up in the air like (moving tee ball machine). Use the two black colored stand parts.
- In the Long Toss mode, just lower the front legs on the foam side of the base which greatly increases the angle your PopToss is sitting at. Now your hitter is hitting at a pitch that looks like it’s a pitcher pitching a real ball at them… like batting practice!
- You can control the speed of the pitch and the height of the pitch by adding and removing the black-colored flat O-rings that sit underneath the spring inside the bottom of the lower cylinder. Just add or remove to control the height or speed of the pitch.
- The only thing that can go wrong with your PopToss is that the air exhaust valve can go bad. We give you extra valves to make a two-minute swap-out to replace the bad one. We have a video on our website.
- We include extra springs to use for different modes. For instance, if you want to use softie balls (we provide two samples), use the shorter of the springs for the indoor balls called Jugs Lite Flite balls. You can get them at www.amazon.com.
There are two reasons for a ball being tossing of a shorter distance:
- Take the spring out and inspect it. It might be bent and you'll need to change it.
- If your spring is in good shape, the problem is a bad Ball Striker. Email us at [email protected] and we will send you another one. Remember, the gray-colored Ball Striker sits on top of the spring and is the part that strikes the softball.


- To get a tossing distance of 25 feet, use your PopToss on a hard, level surface using new balls.
- To get good strikes on a windy day, lengthen the two rear screws. Ensure the two rear screws are level with each other. The BASE should never rock back and forth at any time.
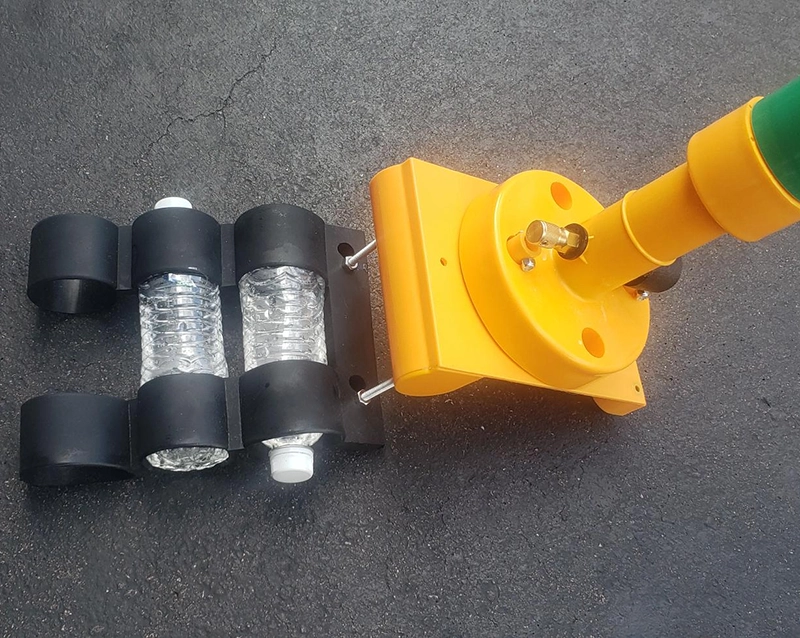
- If you're still not getting good strikes, move the water bottle a little to the left or right. Use motor oil to move the water bottle.
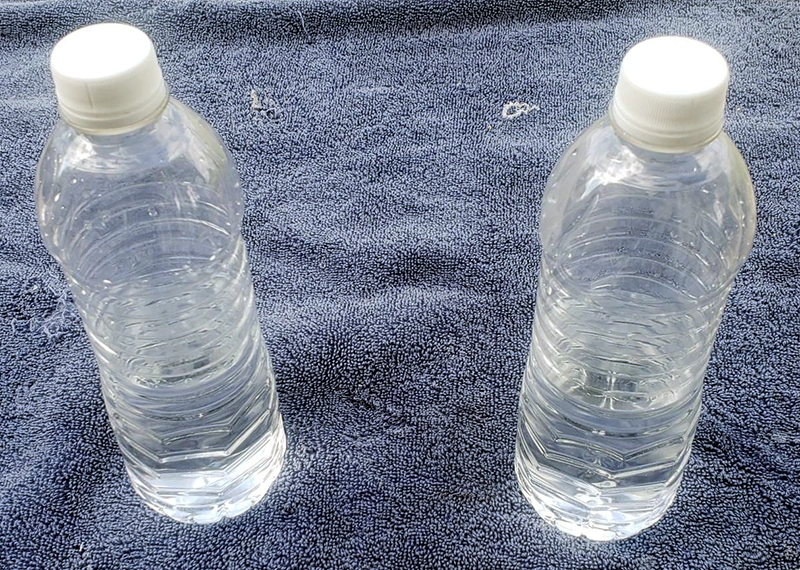
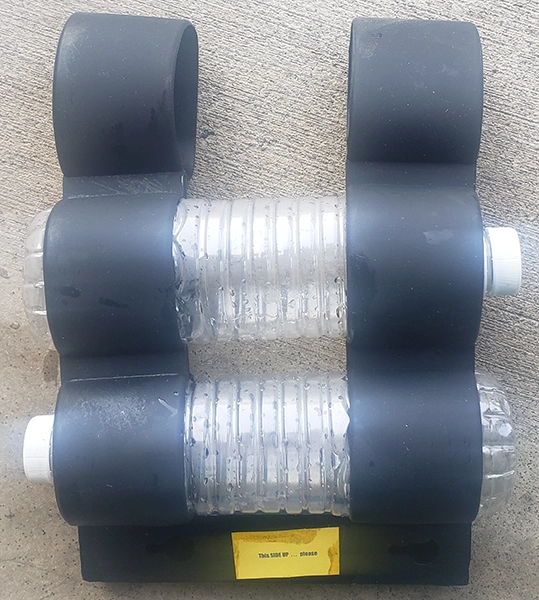
- If your PopToss moves more than you like, add a second water bottle. ONLY FILL IT UP HALFWAY. Don't use two full bottles of water. Add the second water bottle with the bottle cap facing the right side opposite the first water bottle cap.
- If you don't connect your PopToss PROPERLY with the black rubber Water Ball Holder, your PopToss will not perform as designed.

Whenever you oil your bottom inner cylinder NOTE: the bottom cylinder is the part that contains both valves.
Whenever you oil the inner walls of that cylinder PLEASE USE THE SILICONE LUBRICATE CHEMPLEX 862 (available here).
Use your fingers to apply a thin layer of Chemplex 862 to ONLY the two black O rings.
Use motor oil on the inner walls of the bottom cylinder. You can easily get 10 years use out of your PopToss by oiling occasionally, using the silicone on the two O rings, and changing the air exhaust if it goes back (takes 2 minutes... after watching our Youtube video). And occasionally requesting a new spring and finally, only if absolutely necessary SWAPPING OUT A NEW TIMER VALVE to replace one that isn't working anymore.
You have a lifetime warranty, so YOU HAVE PopToss FOR LIFE.
- Remove the Water Weight Holder by sliding it to the right.
- Note that there is no wobble in the movement of your base. After making adjustments, please check to ensure there is no wobble or movement in the base.
- Turning the screws:
- Turning in a clockwise direction moves the screws to a shorter length. This will increase the tossing height of the softball to around 10 to 12 feet high on the pitch.
- Turning the screws in a counter -clockwise direction will lengthen the screws, making pitches lower, around 6 or 7 feet of height on your pitch.
- A lower pitch will mean more distance on your pitches and on windy days your PopToss will throw more good strikes.
- NOTE: Use pliers if the screws are stiff or difficult to turn by hand.
- Test your pitches until you achieve the desired results, then reassemble everything back to normal, making sure there is no wobble or movement in the base.
Locate the ball on the PopToss in a position where none of the threads on softball touch the Ball Striker upon impact. The ball striker should impact a smooth surface of the ball.

